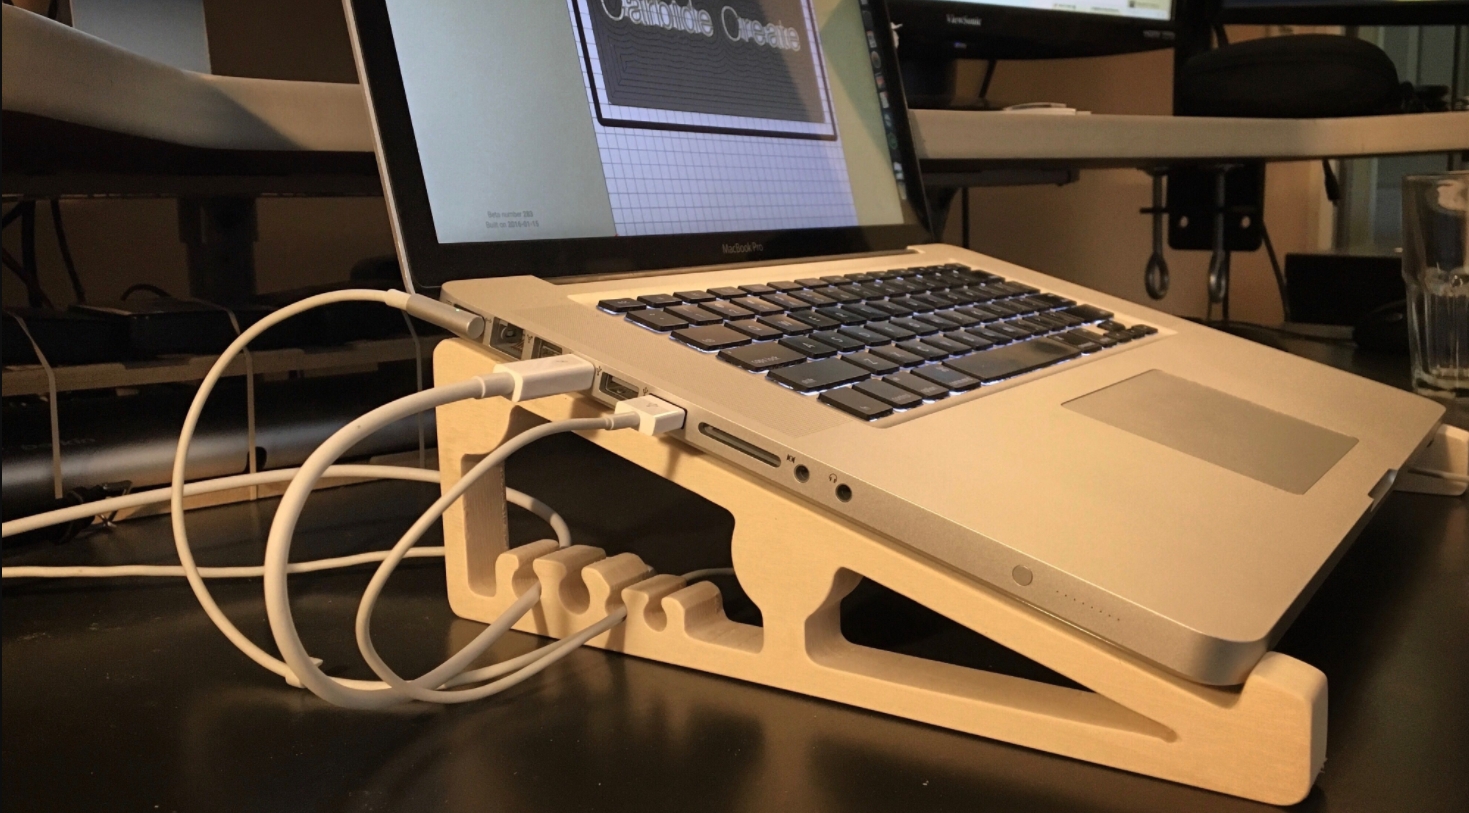
DIY Laptop Stand Justin's IT Blog

Diy Cotton Candy Stand DIYQI
Tutorial to make a DIY Wooden Photo Stand using wood pieces you can buy at the craft store. A quick and easy project great for displaying pictures or quotes. Includes some free printable quotes.
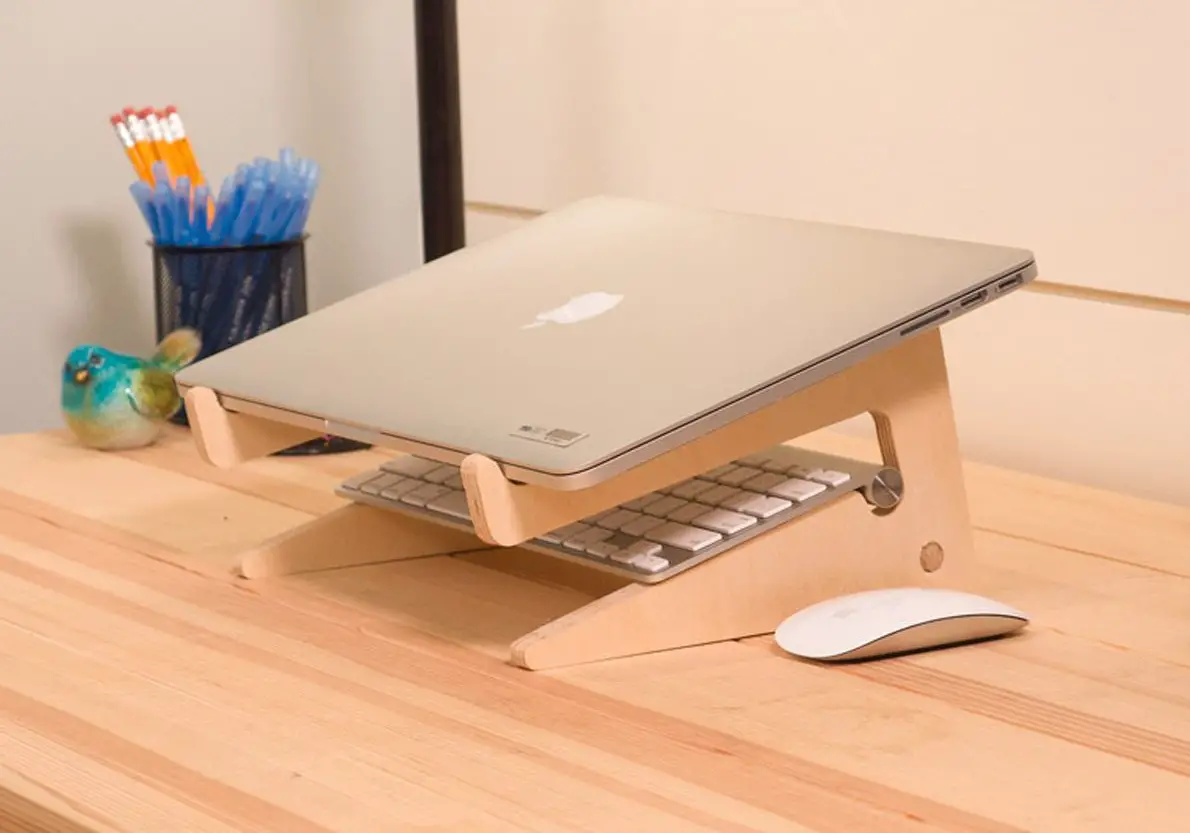
Top 8 Easiest DIY Laptop Stand Ideas to Help You Improve Your Work
1 Print and cut out a hooked, triangular template to use for your project. Search online for a downloadable template of a small easel or stand that you can trace onto some cardboard. Try to print the design on cardstock or some other type of sturdy paper, as regular paper may be too flimsy. [1]
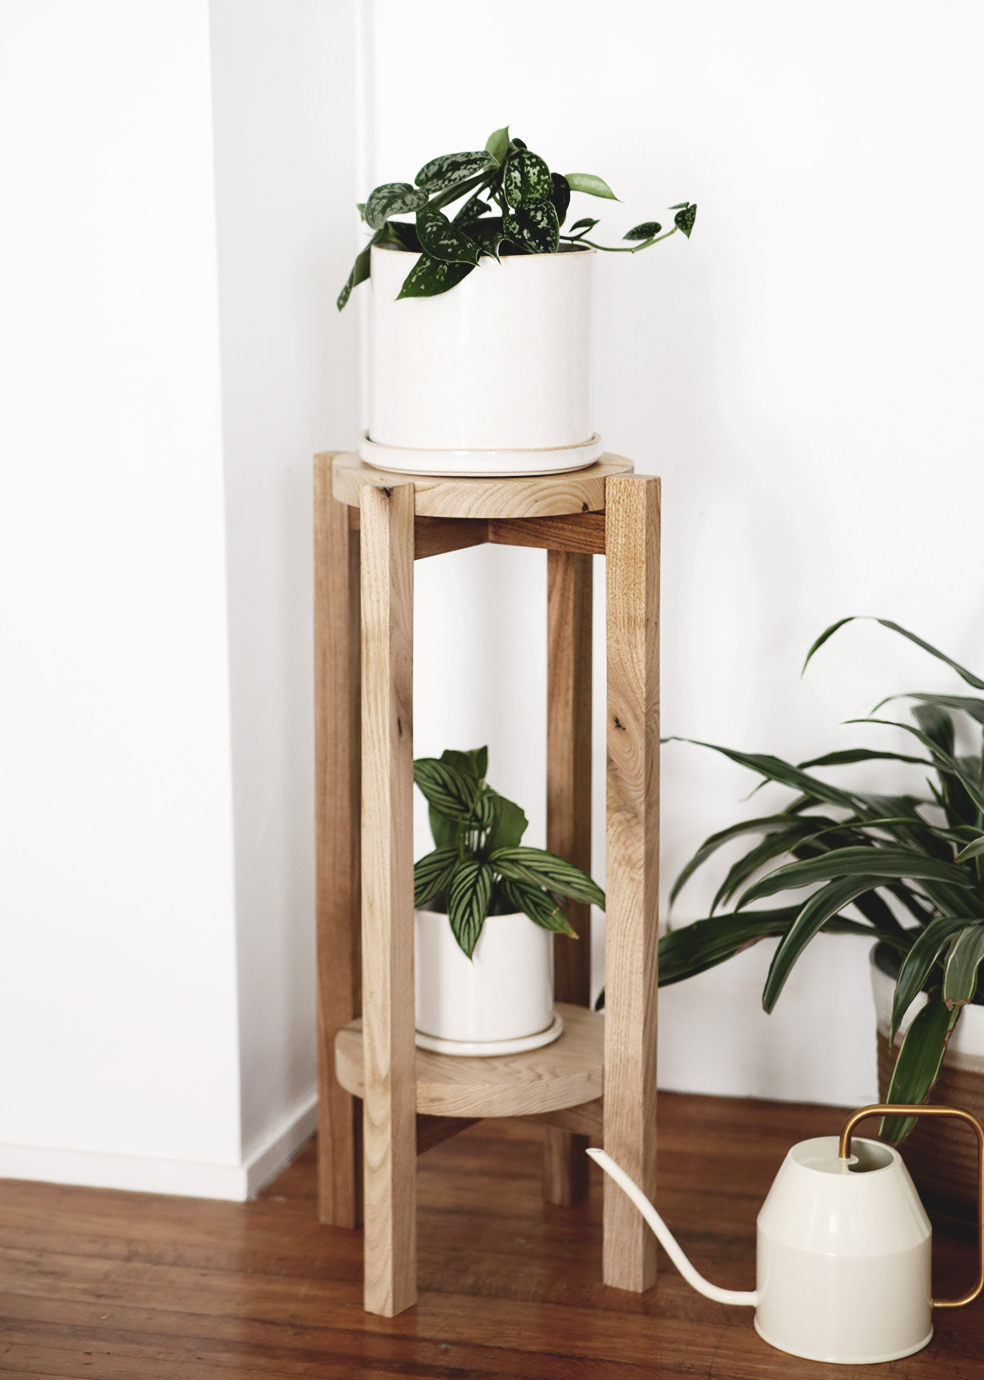
DIY Wood Plant Stand a simple DIY with a video tutorial
Add a 2.5″ piece of pipe to the top of the T and put a 45 degree elbow on the other end. For the diagonal, cut two more 2.5″ pieces and two 25″ pieces. On each of the long sides of the square, Add 2.5″ piece and then connect a 45 degree elbow. Place the 25″ piece into the two 45 degree elbows. Just so this makes sense…the backdrop.

DIY Powerblock Stand Community Fitness Blender
1. Create a Strong Base for Your DIY Photo Backdrop Stand The first step is to assemble the legs. Your backdrop's legs can't be shaky or flexible.

DIY Miter Saw Stand MyOutdoorPlans Free Woodworking Plans and
Subscribe Now:http://www.youtube.com/subscription_center?add_user=ehowArtsandCraftsWatch More:http://www.youtube.com/ehowArtsandCraftsMaking a picture frame.

Diy Backdrop Stand Uk / 12ft*9ft diy rose color inflatable wedding
In this video you learn DIY | How to make a photo stand |photo holder ,card holder, room decoration paper crafts, origami card stand | photo frame | paper craft | picture stands |.

Diy Sit Stand Desk Examples and Forms
With a few pieces of wood, rope, glue, and five minutes, you'll be able to make this simple, DIY picture frame that fits all types of decor from modern to coastal . 5 Minute Wooden Hanging Picture Frame (So Easy!) from Vintage Revivals. Continue to 5 of 20 below. 05 of 20.
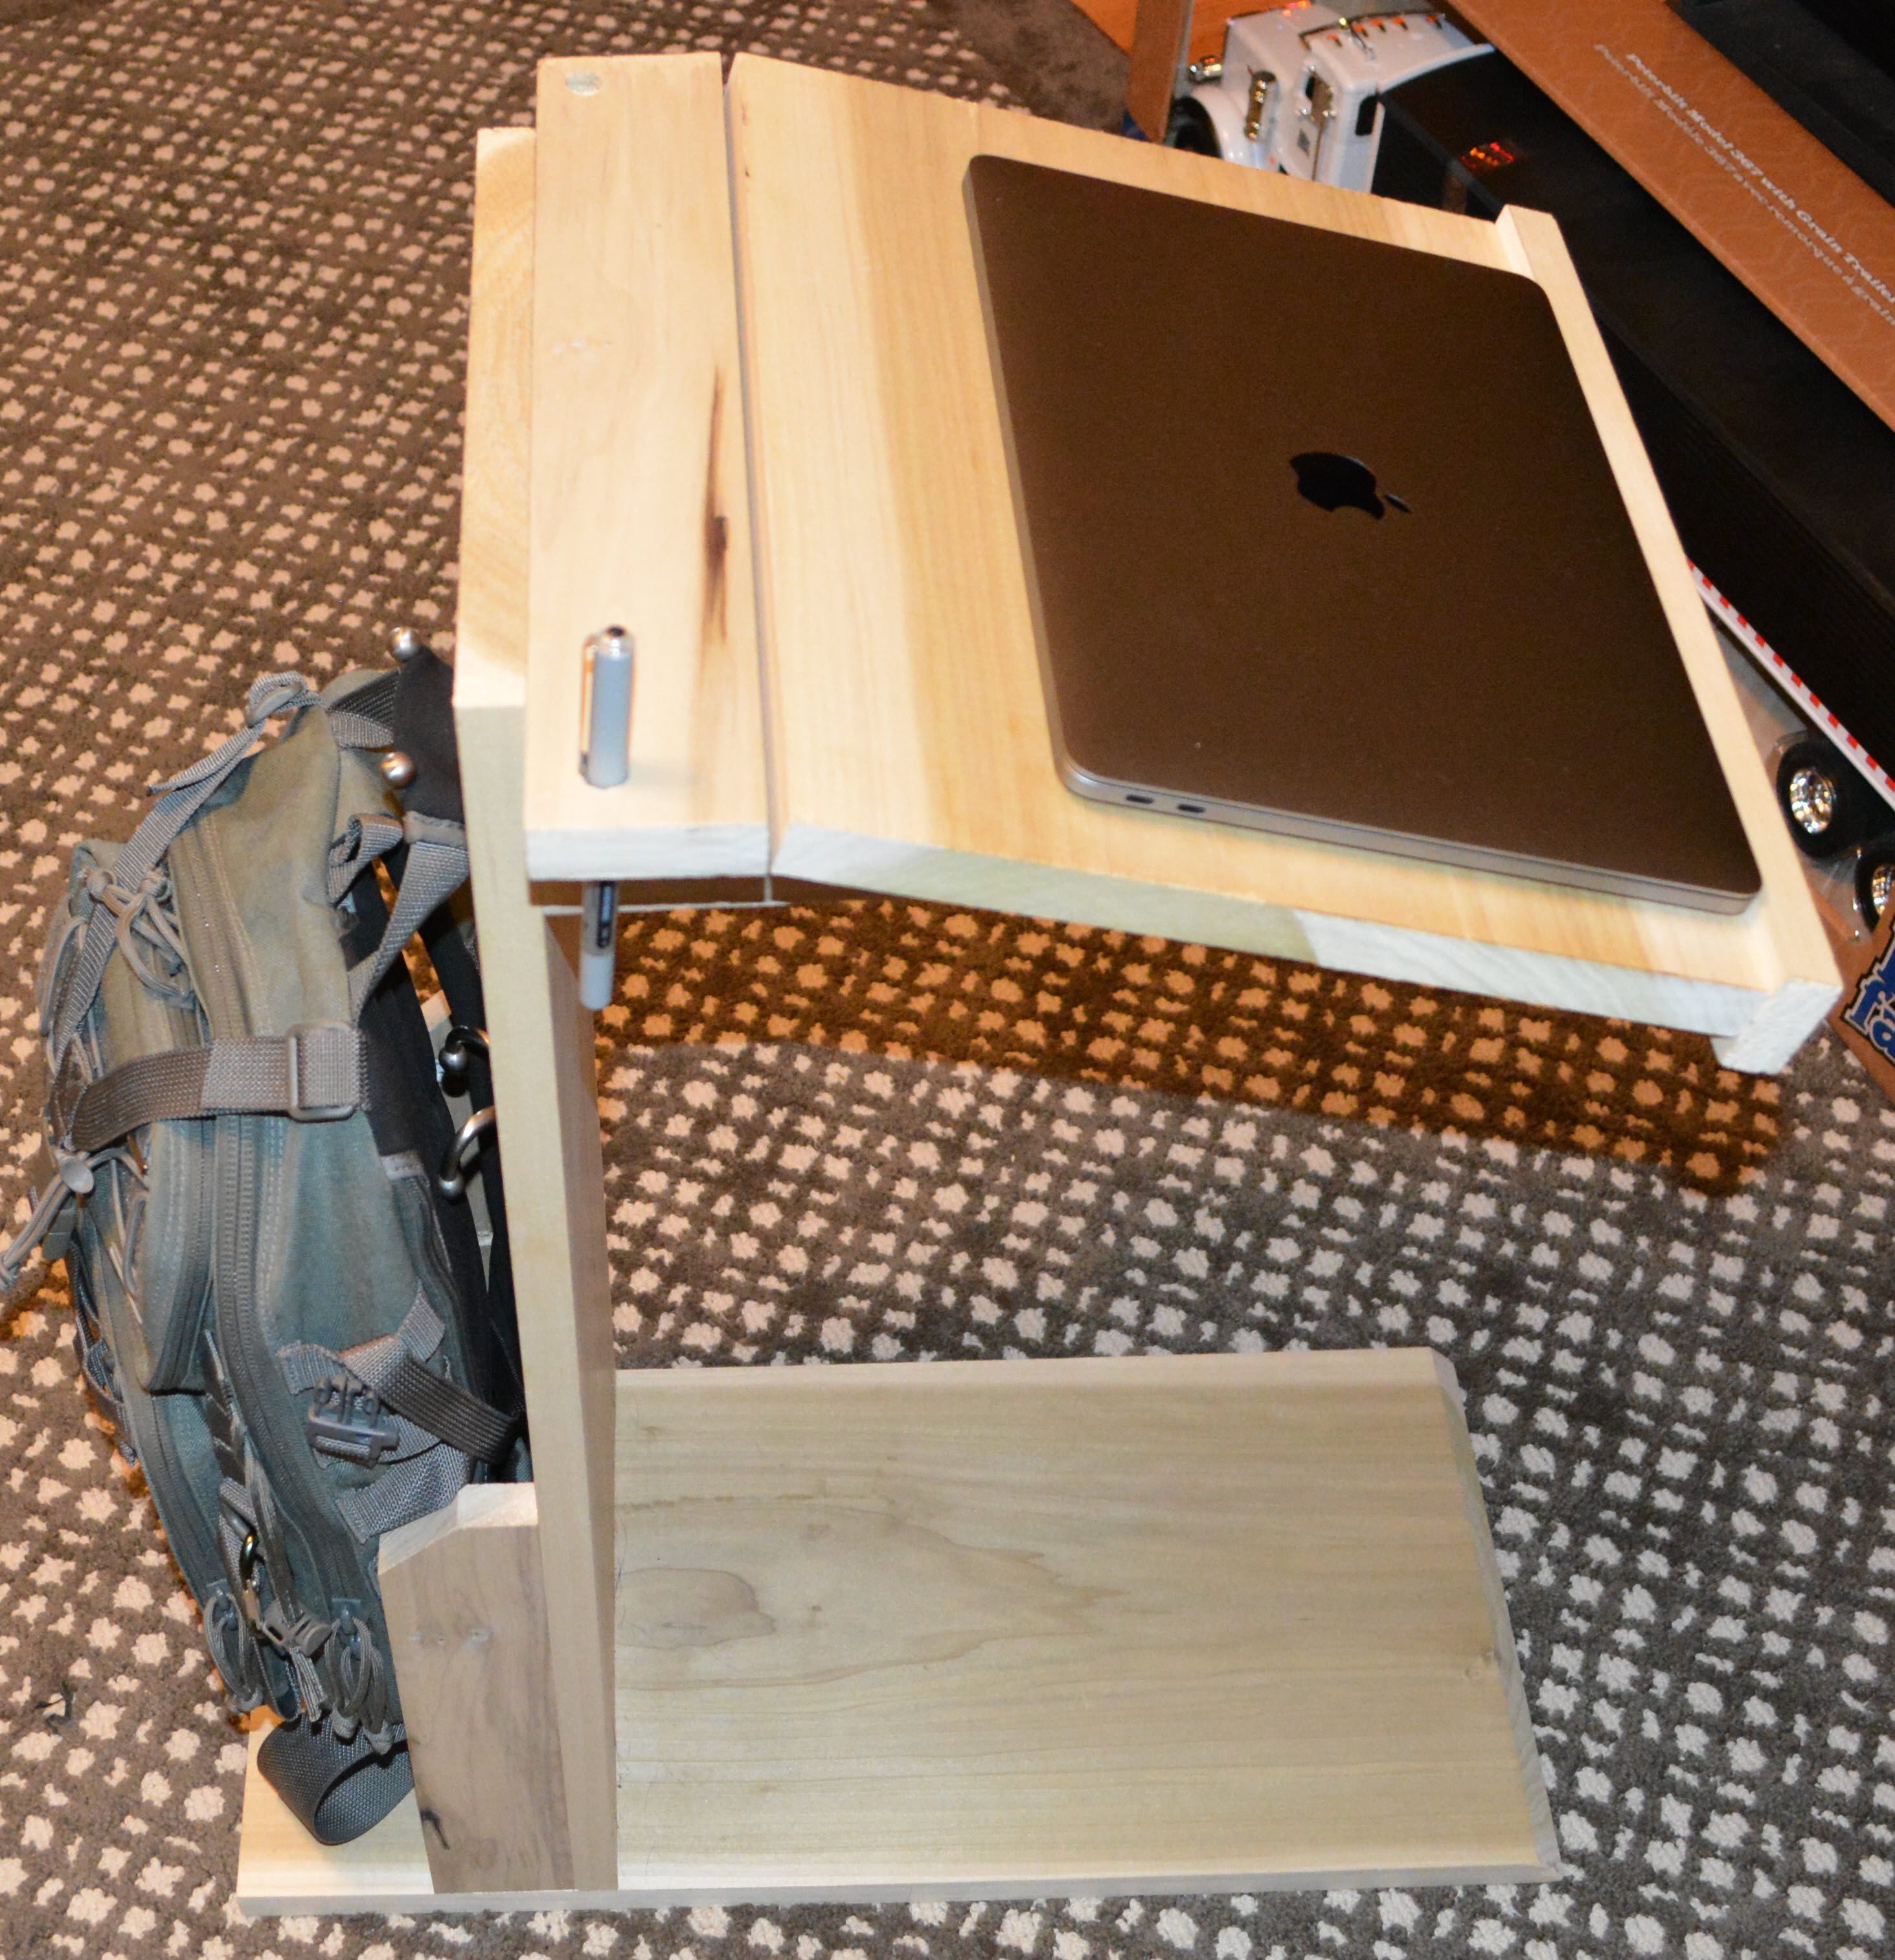
DIY Laptop Stand Justin's IT Blog
STEP TWO: Connect Your PVC Pipes to Make a Backdrop Stand. Push the four caps on the ends of the four 24" long PVC pipes. Push the other end of the 24" long PVC pipes into the sides of a Tee connector. Tap with a mallet to get it into the connector snugly. Repeat for all four 24" long PVC pipes until you have two bases.
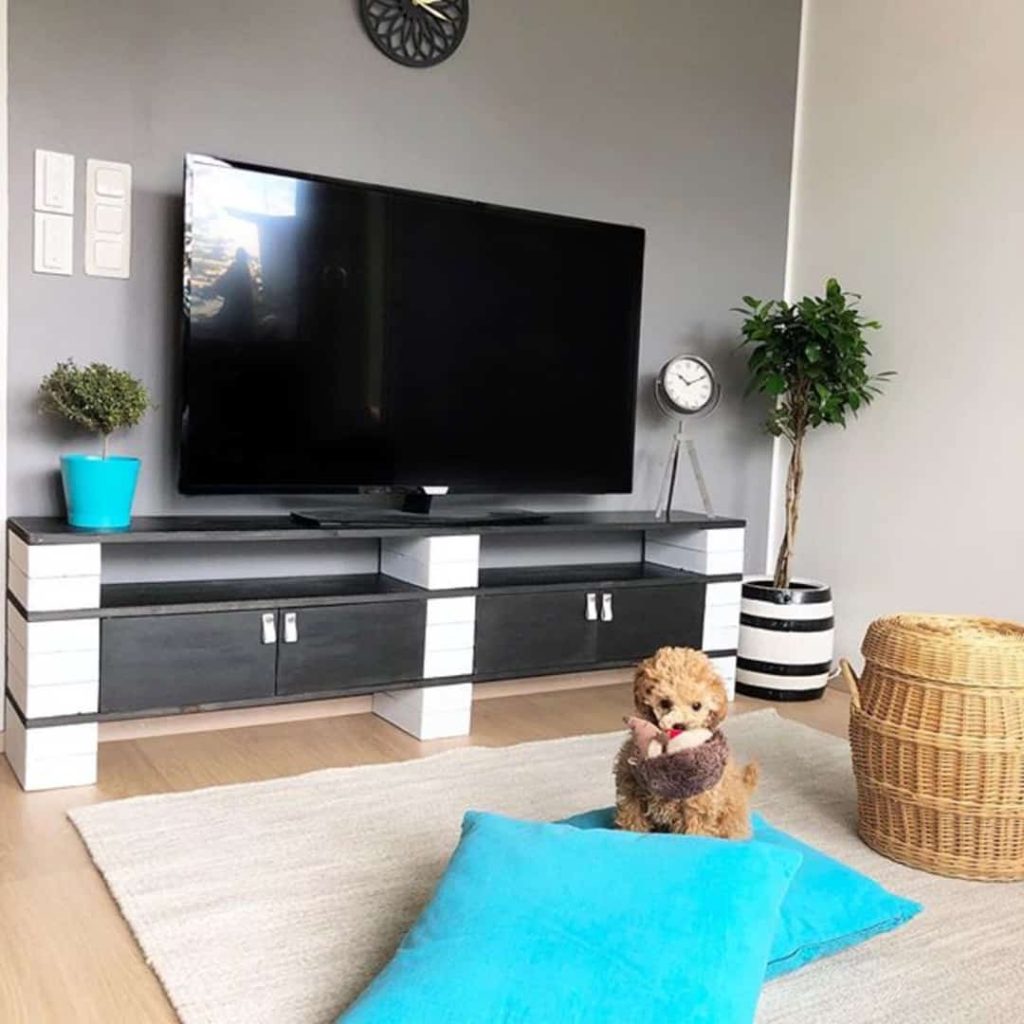
19 DIY TV Stand Projects For Stylish Home Entertainment
1. The first thing you need to do when making the DIY picture frame stand is to saw one of the wood slices in half. 2. Next, apply wood glue to one side of both halves of the wood slice and stick it to a second uncut wood slice. Leave a gap between the halves that is wide enough to fit the picture frame. 3.

20 Inexpensive DIY Plant Stand Ideas
how to make photo stand mr nabindar 38.4K subscribers Subscribe 616 38K views 4 years ago #nabindar #doyoursel WoodTuring a photo stand hi lets see in this video / how to make a photo.

DIY Tiered Stand for Wedding + Beyond Emmaline Bride
Step 1: Materials & Tools All the stuff you need for an easel about 4 inches (10 cm) high: - some wooden stick, at least the width of your picture frame, at least 17 inches (42 cm) - knife - small saw (if the stick is thin, a knife should do fine) - ruler - wood glue Step 2: Stick It! First you mark the 4 lenghts on a stick.

DIY Party Backdrop Stand (Guest Post) Spot of Tea Designs
ROCK PHOTO DISPLAY STAND Mineral rocks are not just any ordinary rocks. These mineral rocks emit positive energy and make a pretty awesome looking photo stand. With this DIY mineral rock stand learn how to use those rocks in your room with elegance. BIRCH PICTURE HOLDER FOR TABLE

Aliya diys Cheap Diy Tv Stand Ideas Pictures
Steps 1. Size and Cut the Pieces Measure the thickness (i.e. depth) and height of the photo frame. Using the cut list above, calculate the size of each piece. Using a miter saw or handsaw, cut the pieces to size. Remove any burrs with sand paper before assembly. 2. Prep the Arm Pieces Group the pieces for the Top and Bottom Arms.

Diy Backdrop Stand Pvc Pipe Pin on Youth Camp Planning / Nor have we
It's a freebie, so go ahead and grab it: SHINE Printable Art. You can resize standard printables to fit smaller displays as well. After printing and cutting out my art, I added an orange cardstock mat to add an additional pop of color. Since the printables I use in this display aren't framed, the cardstock adds a little extra strength as well.

DIY Wooden Photo Stand No Power Tools Needed! Wooden diy, Diy photo
Step 10: Gluing the Front. Before applying glue to the front, cut the playing cards into strips. Next apply glue to the front of the stand. Be sure to keep this aligned the correct way during glue up so you don't apply glue to the top instead of the bottom! To size the gap, use two of playing card pieces.
Top 8 Easiest DIY Laptop Stand Ideas to Help You Improve Your Work
1. DIY Photo Backdrop Stand in 10 Minutes Make a unique photo backdrop with this simple DIY project. In just 10 minutes, using only $10 worth of materials, you can have your portable and easily storable backdrop. All you need is a ¾″ pvc pipe, end caps, t-pieces, elbow pieces and other easy-to-find parts.
