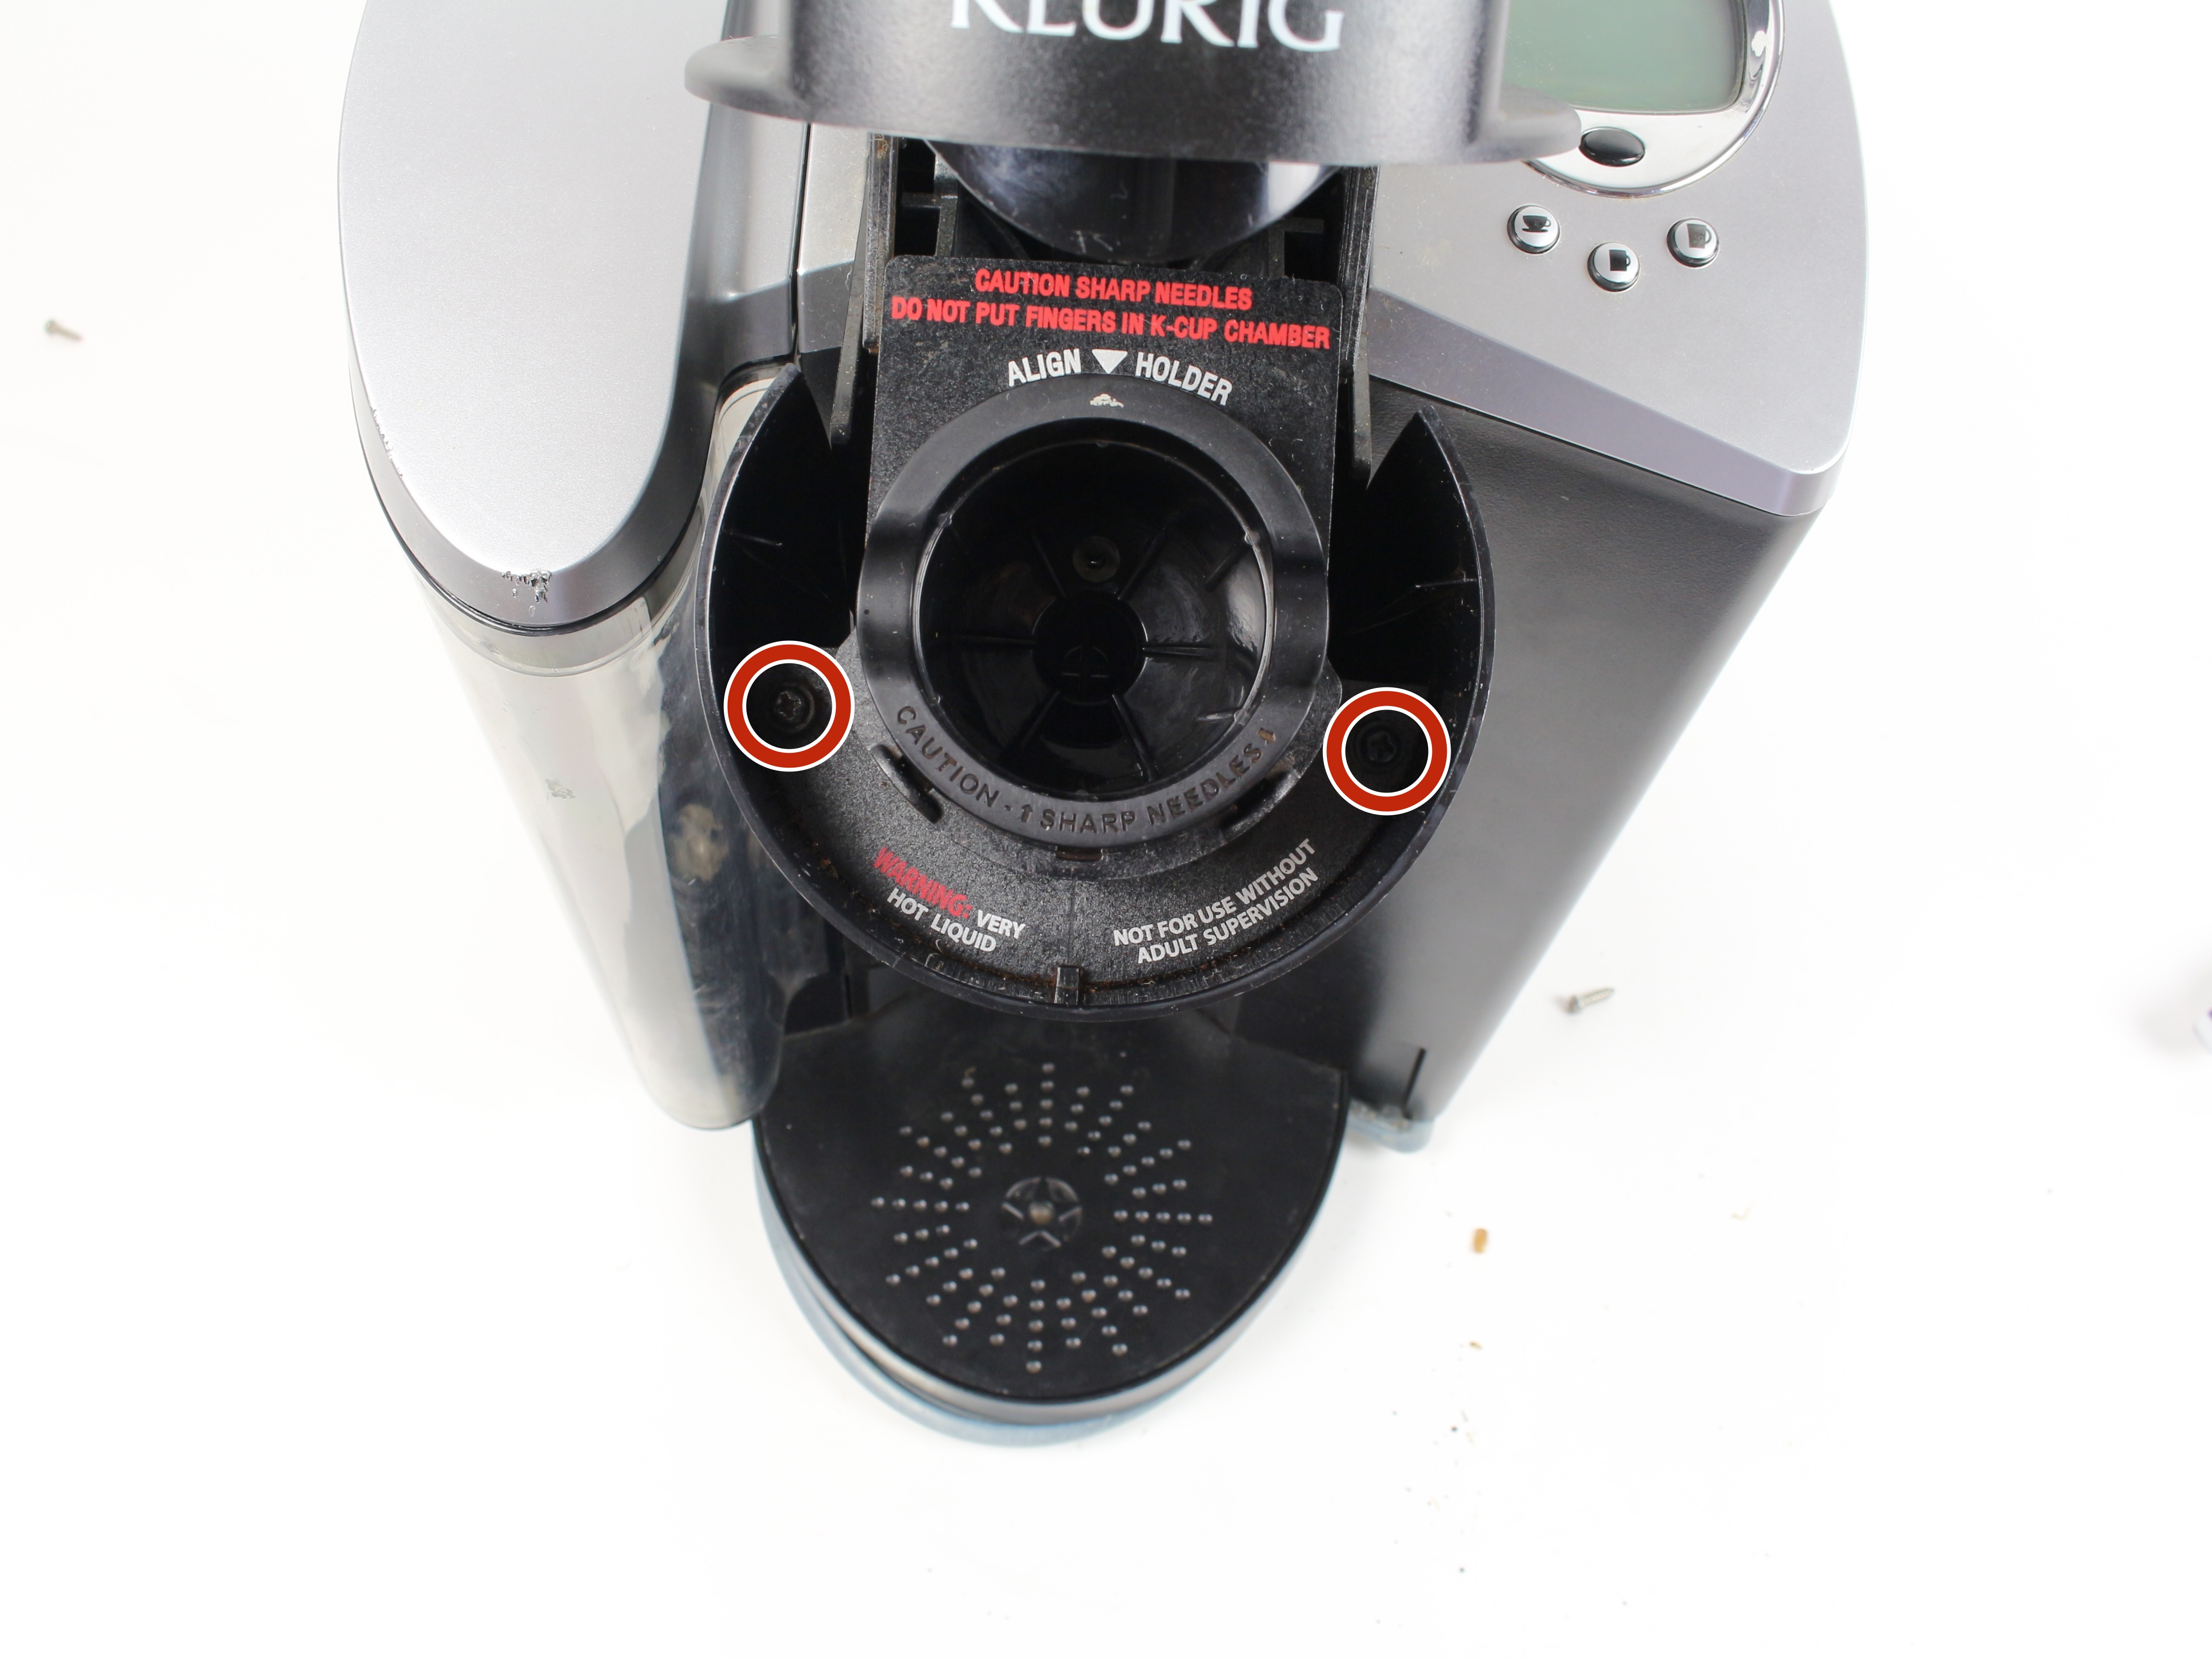
How to Clean The Exit Needle of the Keurig B60 iFixit Repair Guide

KEURIG OEM KCup Holder & Needle Replacement Part B30 B31 B40 B60 B70
Unclogging your Keurig's Needles. First, you need to open your Keurig's lid and gather a paper clip. Next, partially bend the paper clip until part of it is able to be inserted into the Keurig's needle. Third, insert the paper clip into the holes surrounding your Keurig's piercing needle.

KCup Holder and Exit Needle and Gasket for Keurig B70 B77 Amazon.ca
Take the maintenance accessory tool and place it in the K-cup holder. Open and close the Keurig lid 5 times. This will dunk the needle in and out of the water, rinsing it out and cleaning your exit needle. Remove the Keurig 2.0 Brewer maintenance accessory cleaning tool. Turn the power back on the Keurig.

What Are Those Coffee Grains Coming Out Of My Keurig?
exit needle on the inside bottom of the K-Cup® pod holder. Insert a straightened paper clip into the exit needle to loosen any coffee grounds. Entrance Needle Lift the brewer handle and locate the entrance needle on the underside of the lid. To clean all three holes in the needle, hold the brewer handle in the upward position and with your other

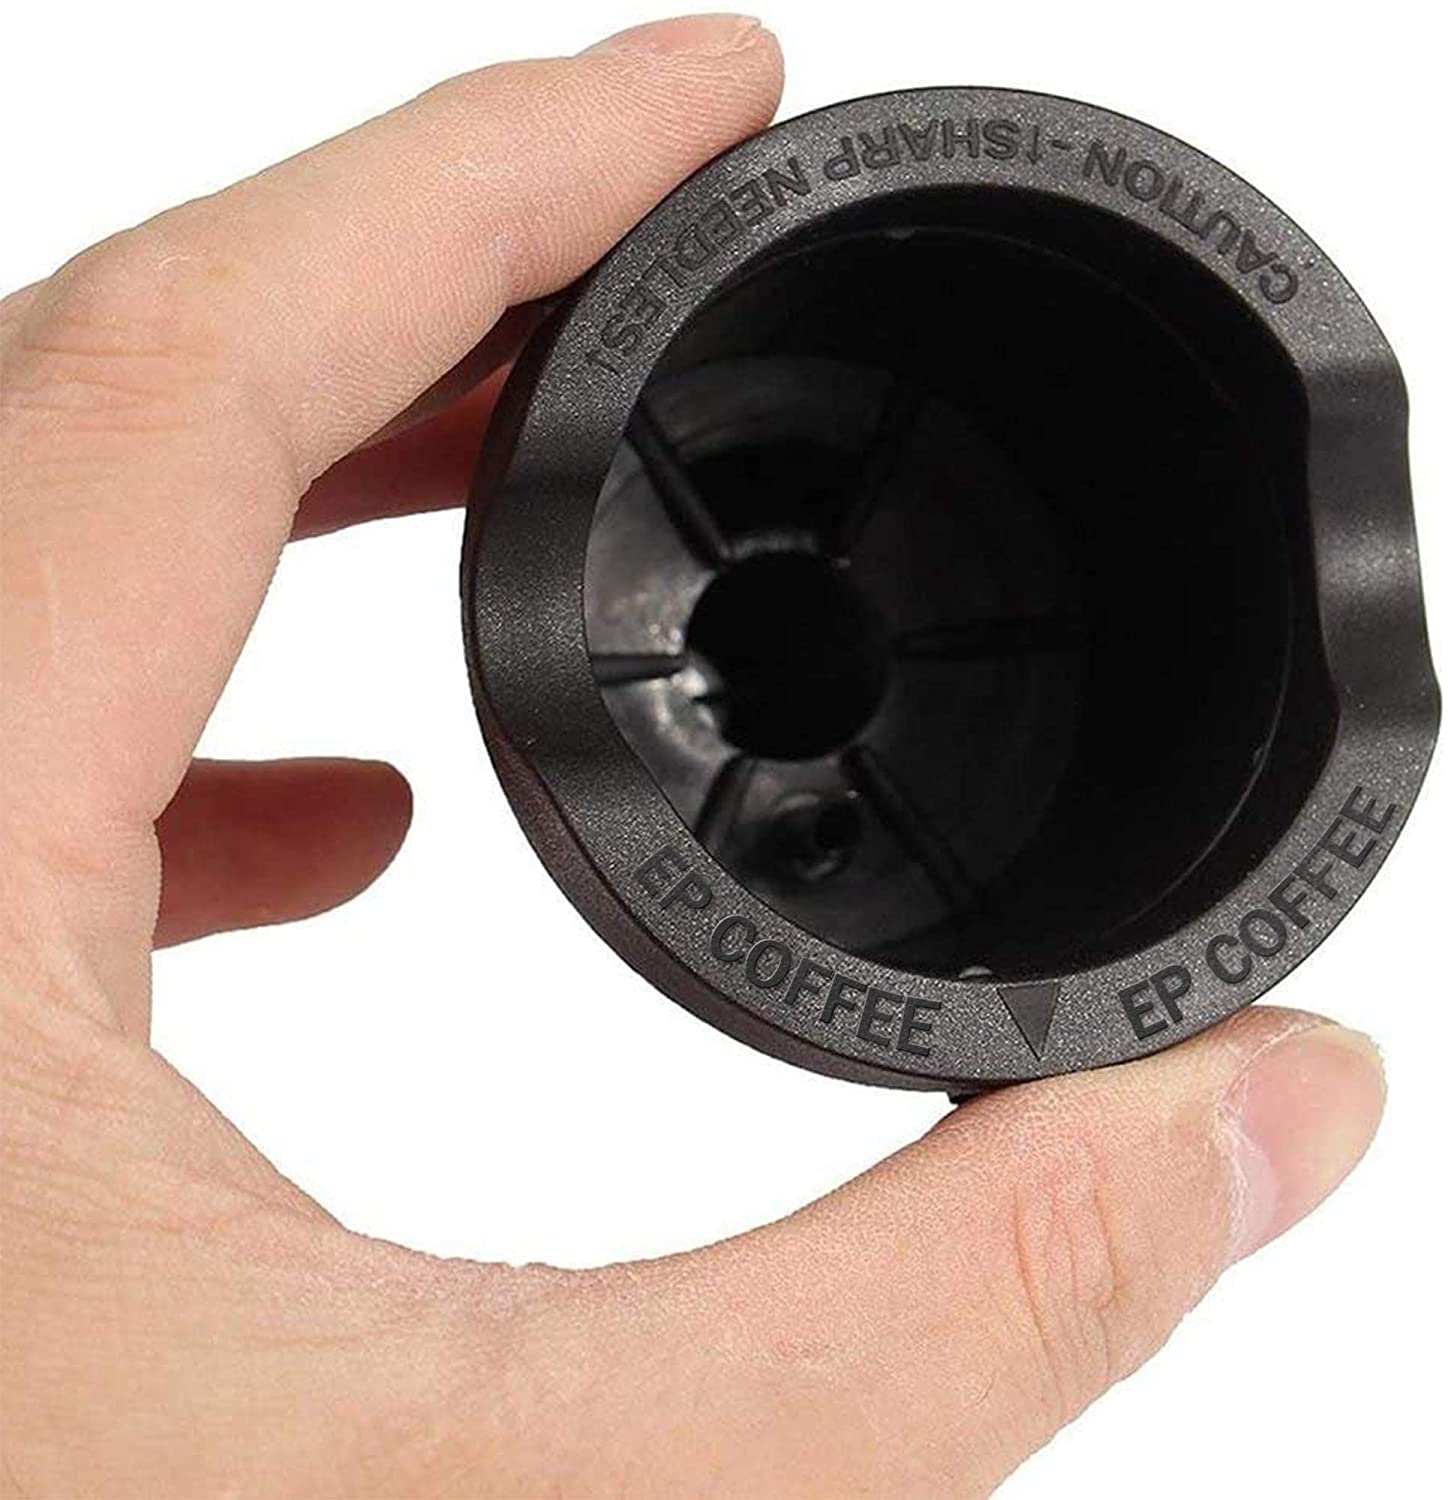
Keurig K Cup Holder Replacement Part Bottom Exit Needle & Housing K45
Replacement for Keurig Holder Part with Exit Needle - 2 Pack K Cup Replacement Parts Needle for B40 B60 K40 k50 K-Elite K-Select K-Café K-Slim K-Classic K-Mini K-Compact K-Supreme K-Express K-Duo. 3.9 out of 5 stars 333. 100+ bought in past month. $9.99 $ 9. 99 ($5.00/Count)

K Cup Coffee Holder With Exit Needle Replacement Part For KEURIG Brewer
Exit Needle: The exit needle is a small metal pin that punctures the bottom of the K-cup during brewing. If the exit needle is clogged or damaged, water can leak out. Drip Tray: The drip tray is the plastic tray that catches any excess water or coffee. If the drip tray is overflowing, it can cause water to leak from the machine.

How to Clean a Keurig Even If You Think It's Broken Cleaning a kurig
Step 4. Insert a paperclip or other small, sharp object into the bottom of the K-Cup Pack Holder needle compartment to clear out any debris. If debris is too dry and compact, perform this step under running water to loosen the debris. Flip K-Cup Pack Holder and repeat. One comment.

Warning Signs on Keurig Comparison Chart You Must Know
Westbound exit and entrance: 62: 1re Avenue, Rue Saint-Jacques - Ville Saint-Pierre: Westbound exit is via exit 63: 63: Route 138 west - LaSalle, Pont Mercier: 64: Route 138 east (Rue Saint-Jacques) 67: Rue Notre Dame, Boulevard Angrignon: Eastbound exit is via exit 64: 68-N: A-15 north (Autoroute Décarie) - Saint-Jérôme: West end of A.
Hydracheck Needle Valve 1/4" NPT (5000 PSI)
Exit Needle Remove the pod holder assembly and detach the funnel. Locate the exit needle on the inside bottom of the K-Cup® pod holder. Insert a straightened paper clip into the exit needle to loosen the clog and push it out. Entrance Needle Lift the brewer handle and locate the entrance needle on the underside of the lid.
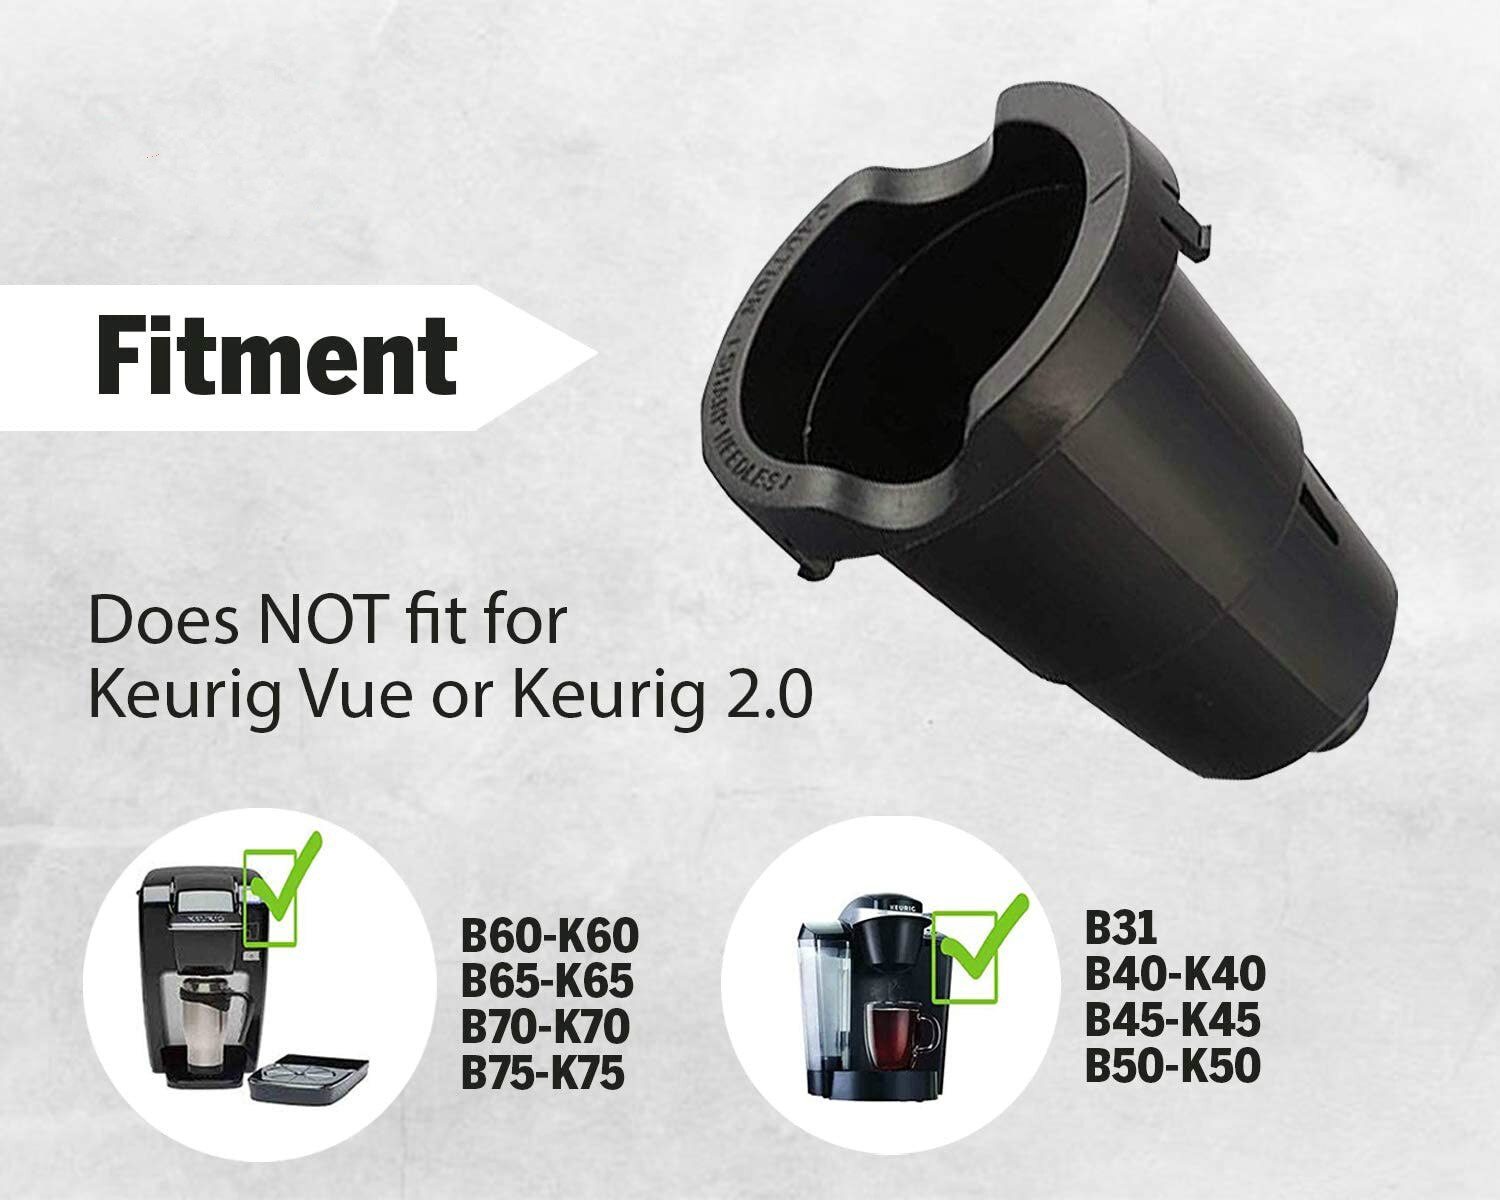
Replacement Kcup Holder Part with Exit Needle, Compatible with Keurig
Step 1: See If Keurig Needles Are Bent or Broken. First you'll want to inspect the top entrance needle and bottom exit needle. If your Keurig is not puncturing or piercing coffee pods because a needle is bent or broken, then it isn't worth trying to clean them. You'll need a replacement needle gasket. Inspecting the upper needle is easy.

Blendin Replacement KCup Holder Part with Exit Needle Fits Keurig K10
Step 8. The last step just involves lowering down the brewer handle down, making sure it clicks into place. We now need to run two water only brew cycles through the brewer. This ensures that the entry needle is cleaned and any remaining particles in the exit needle are also cleared out. We just use water from the faucet, rather wasting the.
replace How to tell if timing belt is due to be changed by visual
One of the easiest ways is to use the Keurig needle maintenance cleaning pod. Simply fill it with hot water, put it in the pod holder and open and close the brew lever 5 to 6 times. The opening and closing action cleans the needle. Use a rinsing pod to clean the internal tubes.
Keurig B60 Puncture Needle Replacement iFixit Repair Guide
Is the needle on the Keurig supposed to be slightly bent at the bottom? (Pic included) I made a post yesterday about how my brand new week-old Keurig K-Supreme (a warranty replacement for a unit that died during descale) has been occasionally having issues with plastic-topped store brand k-pods and causes water to pool in the pod holder reservoir.

How to Clean the Exit Spout of Your Keurig YouTube
Step 1: Insert A Paper Clip or Maintenance Accessory Into The Tube Of The Holder. Clean the exit needle by first flipping it upside down. Now grab a paper clip, and straighten it up if it's bent. Once you do it, insert your paper clip into the small tube at the bottom, and move it around for about half a minute only.

KCup Holder Part with Exit Needle Compatible with Keurig K10,K40,K60
Power your Keurig down and unplug it. 2. Fill the brewer maintenance pod with water. If you're using the brewer maintenance accessory tool, pour water into the plastic cup in the center. 3. Open the brew head and place the tool in the cupholder. The accessory tool should fit snugly in the K-Cup holder.

How to Clean The Exit Needle of the Keurig B60 iFixit Repair Guide
If you notice that the exit needle of your Keurig K-Classic is bent, it indicates that the needle is not in its intended position. Ideally, the exit needle should be perfectly vertical, pointing straight up, to puncture the K-cup's bottom during brewing. A bent needle can obstruct the puncturing process and disrupt the water flow through the.
Replacement Kcup Holder Part with Exit Needle, Compatible with Keurig
Step 4. We now need to remove the tubing from its connections at both ends, from the entry needle and the top of the boiler. It is easier to do this with the tubing still secured with the two screws you see on the part, so we'll remove the screws shortly. Gently separate the tubing from the boiler unit first; we like to use a flat head.
